![]()
As a portrait photographer in the digital age, you must be knowledgeable about Photoshop and Lightroom. This means that in addition to using basic editing, you need to learn how to take your images to a whole new level with more advanced editing techniques. There are many editing tools and methods that take time to understand and use creatively, but they are definitely worth the effort as they can impress your clients.
What are Headshots?
Headshot photography is a great marketplace for photographers. Everyone needs a sharp look, from corporate builders to Instagram influencers. But what exactly is a headshot?
The headshot is one that focuses on the face. They provide a quick look at you and help people put your name on. They are usually corporate in nature, which means they are for business purposes. But the line between work and personal life blurs as our lives become more connected through social media. More and more professional-looking headshots are being used for Facebook, Instagram, and LinkedIn profiles.
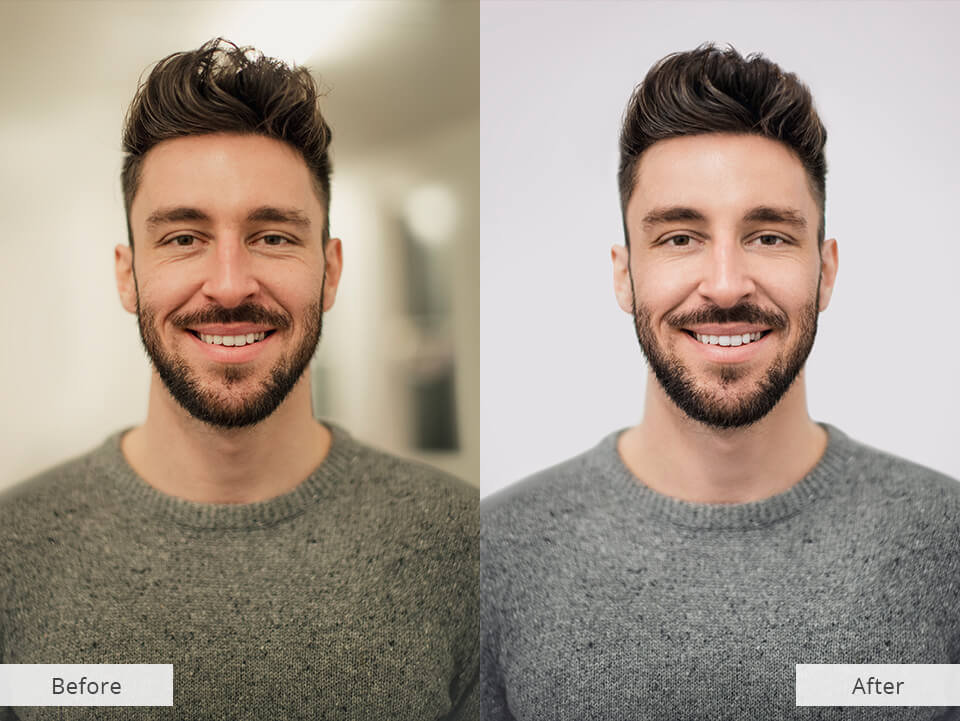
Professional Headshot Retouching Services for corporate, entertainment, modeling, and promotional materials, or for retouching branded portraits for any business purpose. Fixthephoto photo editors ensure high-quality headshot editing with decent proportions.
Here is a list of 7 advanced techniques that will help you get the most out of your portraits!
1. Use the right healing brush
The healing brush can be a more efficient and accurate tool than the point heal brush because it allows you to choose your own source point. This is a great tool for treating various skin problems – for example, you can use a healing brush to remove acne or other skin imperfections like wrinkles or redness.
You can use this brush to remove various noises in the background, which is really helpful in portrait photography.
2. Know how to dodge and burn
There are many ways to use Dodge and Burn, but if you want to use them properly, you need to find the least destructive way to play with these tools. You should always create new layers for these types of edits and name them correctly so you can easily find them later in your last round of edits.
Dodge and Burn are quite powerful and versatile tools – they can be set to affect shadows, mids, or highlights. You can create a sense of depth by making an interesting transition from dark to light in some of the images you’ve played with these tools.
3. Play with layer masks
When you retouch or retouch a portrait, you usually don’t want the effects to be global. If you know how to use layer masks, you can only colorize and edit selected parts of the image.
In portraiture, using a layer mask with a hue/saturation adjustment layer can be very helpful. Body parts like the hands, ears and feet often come in different colors, and masking allows you to balance these colors to get the perfect skin tone in the final drawing.
4. Try different blend modes
Layer blend modes are often overlooked in Photoshop, which makes them real hidden gems. When we choose a blend mode, we tell Photoshop to blend our selected layer with the bottom layer based on the selected mode. This means that pixels in the upper layers will change the color and brightness of pixels in the layers below.
There are 26 different blend modes – you should try them out and get creative!
5. Use selective color tools to correct awkward color patches
You can use selective color matching tools to correct specific tones and adjust the different tones in your portraits. This amazing tool can help you achieve anything from darkening your lips to correcting uneven skin tones.
This tool allows you to add shades of blue to your shades, yellow tones to your highlights, and similar small changes that can brighten up your portraits.
The Selective Color dialog box can be found in the adjustment panel in Photoshop and is best used with layer masks.
6. Play with gradients
The gradient tool should be used sparingly as it looks quite attractive and it can change the whole environment of the portrait. However, you should give it a try as it can add a splash of color to your portraits, especially those that aren’t visually concerned.
Used correctly, gradients can look quite refreshing and memorable. For a subtle yet fanciful effect, you should always change the opacity (gradient) to around 20% – 30%.
7. You can use presets to speed up your editing
Using a standard preset can save you a lot of time. Once installed, the presets add a bunch of different colors, tones, and other adjustments you might need. You can adjust any of the presets to suit your needs, which makes them very flexible and user-friendly.
Lightroom presets give you a great starting point and let you make one-click edits. They are also really useful for repetitive tasks, such as staying within the same timeframe or editing a group of photos with similar exposures.
These seven photo editing tips are sure to help you improve your portrait editing habits. For more information please click here Headshot Retouching Services.